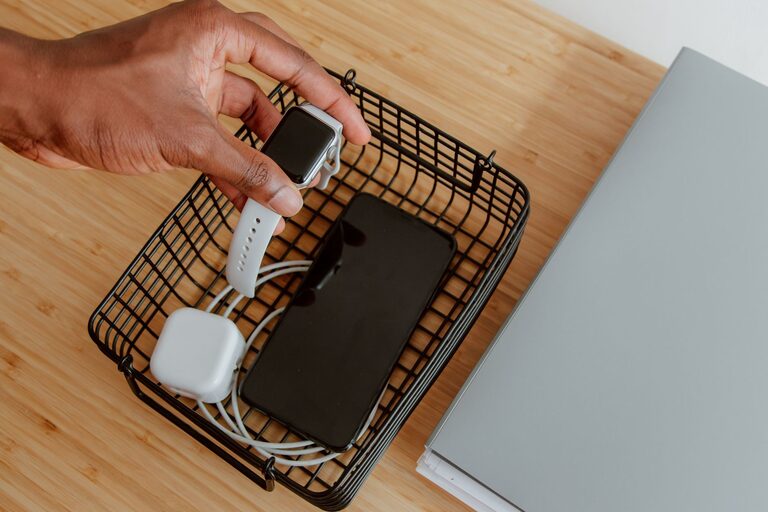
In today’s digital world, we often juggle multiple devices like smartphones, tablets, smartwatches, and wireless earbuds. Keeping all these devices charged and organized can be a challenge. Setting up a dedicated charging station helps streamline the process, reducing clutter and ensuring your devices are always ready to go. Whether you’re aiming to create a charging station for your home office, living room, or kitchen, this guide will walk you through the essentials.
Why Set Up a Charging Station?
Having a centralized charging area has several benefits:
– Organization: Prevents tangled cords and scattered chargers.
– Accessibility: Keeps devices ready and easy to find.
– Safety: Reduces the risk of tripping over cables or overloading electrical outlets.
– Efficiency: Saves time by charging multiple devices simultaneously.
Step 1: Choose the Right Location
Start by selecting a convenient and safe spot in your home. Consider these factors:
– Accessibility: A central area where everyone can easily plug in devices, such as a desk, kitchen counter, or entryway table.
– Power Sources: Look for nearby outlets or use a power strip with surge protection.
– Space: Enough room to hold devices without overcrowding.
– Ventilation: Avoid enclosed spaces where chargers or devices might overheat.
Step 2: Select Your Charging Equipment
Your charging station setup depends on the number and type of devices you need to charge. Here are essentials to consider:
Charging Hub or Multi-Port USB Charger
Instead of using multiple individual chargers, a multi-port USB charger allows you to plug in several devices at once. Benefits include:
– Fewer wall outlets used
– Simplified cable management
– Often includes fast charging options
Power Strip with Surge Protection
Choose a power strip with built-in surge protection to safeguard your electronics. Make sure it has enough outlets for your needs.
Charging Cables and Stands
Gather cables compatible with your devices. Investing in cable organizers, clips, or charging stands can keep cords tidy and devices upright.
Wireless Chargers (Optional)
For compatible devices, wireless charging pads or stands reduce cable clutter even further.
Step 3: Organize Your Charging Station
Keeping your charging station neat and functional involves a few simple steps:
Use Cable Management Tools
– Cable clips and ties: Prevent cables from tangling and slipping off surfaces.
– Cable sleeves or boxes: Hide excess cable length and power strips.
– Labels: Mark cables or ports to quickly identify which device they belong to.
Position Chargers Thoughtfully
Arrange chargers and devices so that cables reach comfortably without stretching or overlapping.
Consider Vertical Space
Stackable charging stands or shelves can maximize space on smaller surfaces.
Step 4: Maintain Your Charging Station
To keep your station efficient over time:
– Regularly check cables and chargers for wear or damage.
– Keep the area clean and free from dust.
– Periodically reorganize to accommodate new devices.
– Unplug chargers when not in use to save energy.
Additional Tips
– Safety first: Avoid overloading outlets and use certified chargers.
– Portable option: Consider a charging caddy or box if you want to move your station around.
– Tech integration: Smart power strips or charging hubs can offer features like automatic shutoff or device prioritization.
Conclusion
Setting up a dedicated charging station is a simple but effective way to keep your electronic devices powered and your living spaces clutter-free. By selecting the right location, equipment, and organizational tools, you can create a charging hub that fits your lifestyle and keeps your gadgets ready for use. Start with a small setup and adjust it as your tech collection grows.
With a little planning, your charging station will make managing your devices easier and more convenient every day.